Easy and lush butter lettuce and blueberry salad

A simple salad of tender butter (aka Boston) lettuce, blueberries and walnuts, dressed in a lemony vinaigrette. Serve as a side dish or mix with avocado and chickpeas, for a light lunch or dinner.

Did I just use the word “lush” to describe a salad? Yes. Yes I did. If you’ve not tried making a green salad using butter (also called Boston) lettuce, you are in for a treat. And as much as I love a multi-layered and complex dish, it is simple recipes like this butter lettuce and blueberry salad that I go back to again and again.

How to choose the best lettuce

When buying butter lettuce, choose one with unbruised leaves that have no browning at the edges, no soft spots or wilting. The outer leaves of this head lettuce are not as crunchy as a Romaine, but that’s good news. They are more buttery and soft, and you don’t have to chew it as vigorously as kale or Romaine. 

Sometimes in grocery stores, it is labelled as “living lettuce” and comes in large round clamshells, at the bottom of which you can still see the roots attached. You can see it in the recipe video below. It will be in the refrigerated section where the baby spinach boxes are. The “living lettuce” tends to last longer in the fridge than cut ones.

How to prep and store lettuce

After I bring my lettuce home, I separate each leaf off of the core, wash in a big bowl of water (at least 2 times) swishing it around gently so as not to bruise the leaves. Instead of draining the water, do it the other way around: pull the leaves from the water and place in a salad spinner.

Excess water causes lettuce to rot, so spin or drain the leaves thoroughly. Store in a large reused plastic bag with a couple paper towels put in, to absorb the excess moisture. Depending on how fresh the lettuce is, it can keep for up to 5 days like this. Like all other lettuces, butter lettuce does not last well once dressed, so only dress it at the last moment to avoid the acid in the dressing breaking it down.

Meal prep and make ahead options

You can definitely prep this butter lettuce and blueberry salad ahead of time. Wash, spin and bag your salad leaves as described in the previous paragraph, then store in the fridge. Also wash the blueberries, and chop the walnuts. Then make the dressing as well, keeping it in a glass jar, refrigerated, until it’s time to use.

Never add dressing ahead of time to tender greens like lettuce, spring mix, arugula, or baby spinach. The acid in the vinaigrette or salad dressing starts breaking them down, and they turn mushy really quickly. Keep salad ingredients separate until right before eating. At that time, add ingredients to a large bowl, add the dressing, toss and serve.

How to turn a greens salad into a meal

  • add cubed avocado (good fats) and cooked, rinsed and drained chickpeas or white beans (protein), such as cannellini or Great Northern

  • after plating, top the salad with soft boiled, jammy eggs (count 1 or 2 eggs per person) and serve some sourdough bread (toasted or not) on the side

  • crumble some feta cheese into the salad, and serve with sourdough or baguette

  • add cooked, rinsed and drained white beans and croutons, either store-bought or home made

Butter lettuce and blueberry salad

Yield: 2-4 servings

Ingredients:

For the salad:

  • 1 head butter/Boston lettuce washed and thoroughly drained

  • ¾ cup (170 g) blueberries

  • ¾ cup (60 g) walnuts

For the dressing:

  • 3 tbsp olive oil

  • 1 lemon zest and juice

  • 1 clove garlic

  • ½ tsp fine sea salt

  • 3-4 grinds of black pepper

Method:

  • For the salad, gently tear the lettuce leaves into bite-sized pieces, into a large bowl. Add the blueberries. Chop the walnuts coarsely, then add to the bowl with the lettuce and blueberries. Set aside.

  • For the dressing, in a small bowl add the olive oil, lemon zest and 1 tbsp of the lemon juice. Grate the garlic on a microplane grater and add to the dressing, along with the sea salt and the black pepper. Whisk the dressing with a small whisk or fork until fully combined.

  • Right before serving, give the dressing another whisk, then pour onto the greens. Toss the salad gently, dipping to the bottom of the large bowl to also toss the fruit and nuts that may have settled there. Serve immediately, adding another sprinkling of walnuts, if desired

Notes:

Substitutions: you can sub other nuts for the walnuts, hazelnuts are particularly good. If pears are in season, you can sub them for the blueberries. Use romaine if butter lettuce or Boston lettuce is unavailable.

Beans and arugula pesto salad

In this beans and arugula pesto salad, warmed cannellini beans are tossed with a zesty pesto sauce made with arugula and almonds. They are layered on dressed baby arugula greens, and served with croutons and grated cheese.

You guys. I made this recipe three times in the past two weeks. For someone who LOVES switching things up on the lunch and dinner front, that is a big and bold statement of how amazing this salad is. 

Beans and greens are a classic combination. I have this duo often as a soup, and of course it works great in salads too. For veg-heads like myself, they are the ultimate secret weapon for making any meal hearty enough. Minestrone looking too thin? Add a can of beans. Need a dip for those roasted veggies? Puree a can of beans. Salad needs a little more staying power? Rinse, drain and add some beans. You get the picture. 

In this recipe, I used cannellini beans, which I love because of their buttery, creamy flesh. They have a mild flavour which is the perfect canvas for the bold flavours of the pesto.

I am linking my favourite brand of store-bought beans, which I buy from this Canadian-owned company. Neither of these mentions is sponsored, and I have no affiliation with either brand, I’m just trying to be helpful. I’ve linked the large cans (of which you need only 1 to make this warm bean salad). You can, of course, cook your own beans too, you’ll need 2 ½ cups of drained beans.

Why I love pesto

I plan on devoting a full post to the amazingness that is pesto, to show you all the myriad ways it can be:

  • switched up into fresh variations on the same theme

  • used to doctor up pretty much anything else you cook in your kitchen.

For now, I wanted to mention this: you do NOT need to make your own, from-scratch pesto to make this beans and arugula pesto salad. If you find a good quality pesto that you enjoy, use that. Hint: the good ones will be in the refrigerated section of your grocery store, not in jars in the pasta isle. 

In this pesto, I use arugula as the “herb,” as it has an assertive flavour that plays up well against the mild, creamy beans. You can endlessly adapt your pesto to what you have in your pantry, fridge or garden. I’ve so far made different pesto versions with basil (obvi), parsley, kale, and spinach. They’ve all been great. Genovese basil is traditional, and you can certainly use that here if you dislike arugula.

The nuts can be varied too: sliced almonds (whole ones take longer to break down, but not impossible), cashews, pistachios (OMG so good) can be used in place of the traditional pine nuts. I apologize to my Italian friends for bastardizing pesto; I could not help myself. But I have no regrets, this beans and arugula pesto salad is a real winner.

How to customize this recipe to your taste

  • if making pesto from scratch is a no-go for your busy schedule, buy a good quality pesto and use that. You will need ⅓ cup to ½ cup of ready-made pesto, depending on your taste

  • I prefer cannellini beans, but any white beans, such as Great Northern or even Navy beans will work

  • if you don’t like arugula, or cannot find it in your area, use a basil pesto, and for the salad itself, substitute with baby kale or even super mild greens like spring mix, romaine or Boston lettuce

  • you can make a traditional basil pesto and use that instead of the arugula pesto, but increase the Pecorino to ⅓ cup as it takes more to stand up to the highly aromatic basil

  • you can absolutely make this vegan by omitting the cheese, or substituting it with an assertive vegan cheese. Sadly, I can’t offer any recommendations, as I haven’t been able to find a vegan store-bought cheese I reeeeaallly liked. I’d rather just omit the cheese altogether, in which case increase the salt slightly to compensate for it

  • to make it gluten free and grain free, omit the croutons and substitute with ⅓ cup pine nuts, briefly toasted in a pan until golden

Bean and arugula pesto salad

Yield: 2-4 servings

Ingredients:

For the pesto:

  • 2 cups (40 g) baby arugula

  • ¼ cup (30 g) sliced almonds

  • ¼ cup (15 g) finely grated Pecorino cheese

  • 1 clove garlic peeled and coarsely chopped

  • ½ tsp fine sea salt

  • Zest from ½ lemon zested with a microplane

  • ¼ cup (60 ml) extra virgin olive oil

  • 1 tbsp (15 ml) lemon juice

For the salad:

  • 2 cans (14 fl oz each, or 450 drained weight, 2 ½ cups drained beans) cannellini beans, warmed up

  • 4 cups arugula or other greens like spring mix, or romaine lettuce, baby kale etc.

  • 1 tsp extra virgin olive oil

  • ½ tsp lemon juice

  • ¼ tsp salt

  • 1 cup croutons store bought or homemade, or ¼ to ⅓ cup toasted pine nuts

Method:

  • For the pesto, add the arugula, almonds, cheese, garlic and salt to the bowl of a food processor and process until everything is finely chopped. Stop and scrape down the sides of the bowl occasionally. With the motor running, drizzle in the olive oil and lemon juice, and process a couple minutes more, until well pureed but not completely smooth.

  • For the salad, add the warmed drained beans to a large bowl, and add about ⅓ cup of pesto. Toss the beans and pesto together gently with a spoon, so the beans are well coated in the sauce. Again, be gentle so as not to crush and puree the beans. Taste and adjust for salt, if needed. Set aside.

  • In another large bowl, toss the arugula or greens of your choice with the small amount of olive oil, lemon juice and the salt, until the greens are well dressed.

  • To serve, on each plate layer: some dressed greens as a base, then some beans, and finally some croutons. Add a grating of cheese on each plate, if desired.

  • I don’t recommend mixing all the beans into the arugula, only as much as you’ll eat in one sitting. Leftover pesto’d beans can be kept in the refrigerator for 2-3 more days, and only add greens right before you plan to serve them.

Gluten free cornmeal pancakes

Gluten free and dairy free cornmeal pancakes (or johnnycakes) which are tender yet hearty, served with fresh strawberries drizzled with honey. Pre-mix the batter in the evening for best flavour and texture.

I’ve been thinking for a while of sharing a breakfast or brunch recipe with you guys, and when I tested these cornmeal pancakes, it was a total winner. And I knew this because, while cooking them, I could not stop nibbling on them right as they came off the pan. I would split one in half, marvel at the golden tender crumb inside, then scoff it down with a honeyed strawberry smooshed on top. If you enjoy cornmeal, popcorn and/or pancakes, try these cornmeal pancakes! 

Where to find cornmeal and which grind to choose

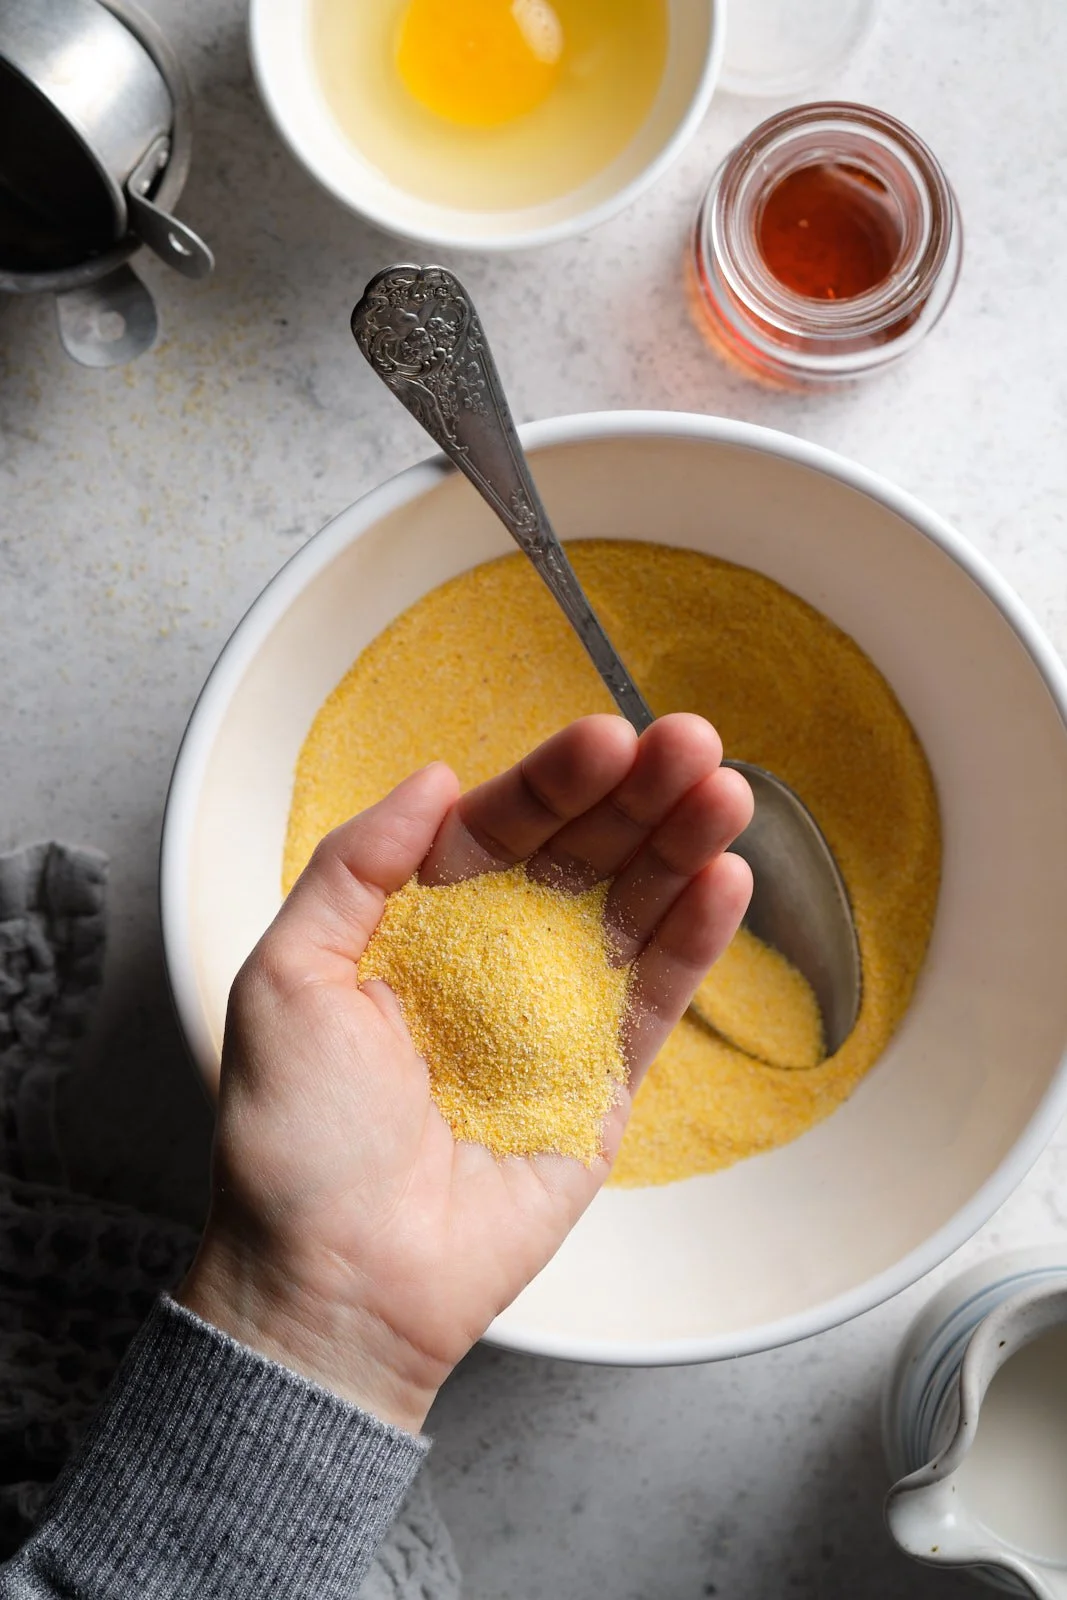
Fine cornmeal is an awesome pantry staple. It’s quick to cook, and really versatile. I prefer to buy cornmeal labeled either as organic or as non-GMO. I loooove the non-GMO cornmeal that I find at Bulk Barn, for my fellow Canadians. It’s always fresh and the exact grind my recipes and my short patience requires. 

Corn grains are milled to different levels of fineness, or different grinds. Coarse cornmeal is uneven, with large bits which have to be cooked for a long time (think 45 minutes). Medium grind is finer, more even and takes less time to cook, but still has texture when cooked. And instant or quick-cooking, as well as fine cornmeal are the finest grind. Sometimes cornmeal is labelled as “polenta” although polenta is actually a dish, not an ingredient. You might also come across the term “corn grits,” this too will be a coarser grind. 

Be careful not to buy corn flour, which is corn milled into a fine powder. We use corn flour differently than cornmeal, and it will definitely not work in this recipe for cornmeal pancakes.

Tips for recipe success

  • bring the water to a full, rolling boil before adding it to the cornmeal in step 1. Some of the starch will quick-cook and your mixture will be the right consistency. If you don’t fully boil your water, your batter might be too runny 

  • use cornmeal of the finest grind you can find, to ensure it hydrates overnight and will cook through in the pancakes

  • for this recipe, I love and use the white rice flour that I buy at my favourite Asian market or in the International isle of my local Superstore. (see image above) The exact brand matters less, just make sure it comes from Thailand and it is NOT glutinous rice flour. It is very inexpensive and you can make amazing crepes with it too

  • if you forgot to soak the cornmeal the night before, you can still make these gluten free cornmeal pancakes, but you need to give the cornmeal at least 30 minutes to hydrate. Use instant or quick-cook cornmeal if you have it. If you have a medium grind, the texture of the pancakes will be different and they may feel a little gritty. But don’t worry, your gut bacteria will love you for it.

  • heat the pan on medium heat, then turn the heat slightly lower, so your pancakes don’t burn on the first side before they have a chance to fully cook. Flip them over when their surface is dotted with burst bubbles and the underside is golden brown.

Substitutions, or how to adapt this recipe to your taste and/or pantry

  • if you prefer to use wheat flour in this recipe instead of the gluten free flours (almond and rice flour), then you can substitute these two flours with an equal quantity in grams of white whole wheat flour. You would therefore use 100 g total, instead of the 70 g rice flour plus 30 g almond flour

  • if you want to make these vegan, use an egg substitute that you know and trust. Alternatively, try using a flax egg, which you make with 1 tablespoon ground flaxmeal or ground chia seeds whisked with 3 tablespoons of water. I did NOT test a vegan version, however, so please report back if you try it!

Gluten free cornmeal pancakes with honeyed strawberries

Yield: 2 servings

Ingredients:

For the pancakes:

  • 1 cup (160 g) fine cornmeal

  • 2 tablespoons (30 ml) maple syrup

  • 1 tablespoon (15 ml) olive oil

  • 1 cup (236 ml) boiling water, from a freshly boiled kettle

  • ½ cup (117 ml) plant milk (I used unsweetened oat milk)

  • 1 large egg beaten

  • 1 teaspoon lemon zest

  • 70 g white rice flour (Thai brands work best)

  • 30 g almond flour

  • 1 teaspoon baking powder

  • ¼ teaspoon fine sea salt

For the strawberries:

  • 11 oz (300 g) strawberries (one clamshell’s worth)

  • 1 tablespoon honey ideally from acacia blooms (find it at European delis) or maple syrup

  • ¼ teaspoon vanilla bean paste optional

Method:

  • The night before you want to eat the pancakes, measure out the cornmeal in a bowl, then add the maple syrup, and olive oil. Boil the kettle, and immediately after the knob popped up, pour the boiling water over the cornmeal mixture. Whisk well until no dry bits remain. Cool slightly, then cover with a plate or beeswax wrap, and refrigerate overnight.

  • In the morning, to the bowl with the cornmeal mixture add the plant milk, the beaten egg and lemon zest and whisk well. In a separate, small bowl, mix the two flours with the baking powder and salt.

  • Add the dry ingredients to the bowl with the cornmeal batter, and whisk until the flours are fully incorporated and the batter is smooth and free of lumps. Let rest while you prepare the strawberries and the pan heats.

  • Pre-heat a warming drawer, or your oven to 200 degrees F (93 degrees C, that’s a barely hot oven) – you will want to keep your pancakes very warm until you serve them.

  • Heat a pan on medium heat, and meanwhile prepare the strawberries. Rinse (always under running water, never fully dunk them in), remove the stems, then cut into halves or quarters. Drizzle the honey and, if using, the vanilla paste over the strawberries, and gently toss with a spoon to coat. Set aside.

  • When the pan is hot, spread a bit of ghee or refined coconut oil in the pan, and add 2 tablespoonfuls of batter to the pan. Cook on the first side until their underside is golden, and the top has burst bubbles, then flip and cook them on the second side until golden. Keep each pancake in the warmed oven until ready to serve. Serve them with the strawberries, more honey or maple syrup, and dairy or plant butter.

Easiest cocoa almond energy bites

These are the easiest chocolate energy bites you will ever make. You don’t need a food processor to make them, and they are no-bake, grain free, vegan, and paleo.

When it comes to my recipes, I am not really one to use superlatives like “the best” or “life-changing,” but I am confident that in this particular case, there is no exaggeration: these truly are the easiest energy bites you will ever create in your own kitchen. 

I am that foodie who owns a food processor, whose life is not complete without a cherry pitter, and who asks for a Staub cocotte from Santa. That said, my food processor lives in the farthest corner of my kitchen cabinet. Further, it is a pain to: 

  • haul out of said cabinet

  • wash (especially the lid, poorest design ever, wtf Cuisinart?!)

  • haul back into its hiding spot cabinet once it’s been used. 

As soon as the idea to create a no-food-processor-required energy bite came to mind, I was very invested in making it happen.

What are energy bites

Energy bites are typically a mixture of nuts or nut butter, grains (like puffed millet, puffed or crispy rice, or oat flakes), a sweetener like dates, maple syrup, brown rice syrup or honey, sometimes seeds like flax or chia, and possibly other delicious inclusions like chocolate chips, cacao nibs, spices, or even chili powder for a little spicy kick. You might also find them called energy balls, or energy truffles, and Aussies call theirs bliss balls. I love that name, don’t you? 

For this recipe, I decided to keep things as simple as possible, and eliminated the grains and seeds. I only kept the very basics: the nuts, the sweetener, and the flavour-carriers (cocoa, vanilla, salt). If there ever was a BASIC energy bite, then this is it.

Using almond meal

I am using almond meal so the nuts are pre-ground, and no dates, which means you don’t need a food processor to break down the ingredients and bring together the mixture. All you need is a bowl, a spoon, and a scale.

The almond meal I buy comes in a super large bag. I keep one large jar of it  in my pantry, and store the rest in the freezer where it keeps fresh for longer, without going rancid. I love using almond flour in pancakes, crepes, waffles, muffins, sponge cakes and more. Can’t wait to share more of these recipes with you!

How to adapt this recipe to your taste

  • if you don’t like almonds, use hazelnut meal instead. You should be able to find hazelnut meal/flour in the gluten free baking section of larger supermarkets

  • many recipes use nut butter for the nut component – if you enjoy that toasty flavour, you can toast your almond meal in a 325 F oven, for 5-10 minutes, but watch it like a hawk, as it can go from toasty to burnt in seconds

  • dry sweeteners like maple sugar, or coconut sugar, don’t work in this recipe. If you don’t have maple syrup, use the same quantity of light agave

  • you can flavour these chocolate energy bites with spices or extracts: cinnamon and a bit of chili for Mexican chocolate vibes, or a drop of almond extract, or if you really love mint chocolate try a drop of mint extract. Always try flavouring only a bit of the mixture first. Taste it, then decide if you want to flavour the whole batch or not

  • other options for rolling the energy bites in: finely grated coconut, cocoa powder, freeze dried raspberry powder, other finely chopped nuts

Easiest cocoa almond energy bites

Yields: 15-17

Ingredients:

  • 2 cups spooned and levelled (200 g) almond meal

  • 3 tbsp (20 g) Dutch-processed cocoa powder (I use Cacao Barry Extra Brute)

  • ¼ tsp fine sea salt

  • ¼ cup (80 g) maple syrup

  • 1 tsp vanilla paste or vanilla extract

  • Finely chopped roasted pecans for rolling (optional, but recommended)

Method

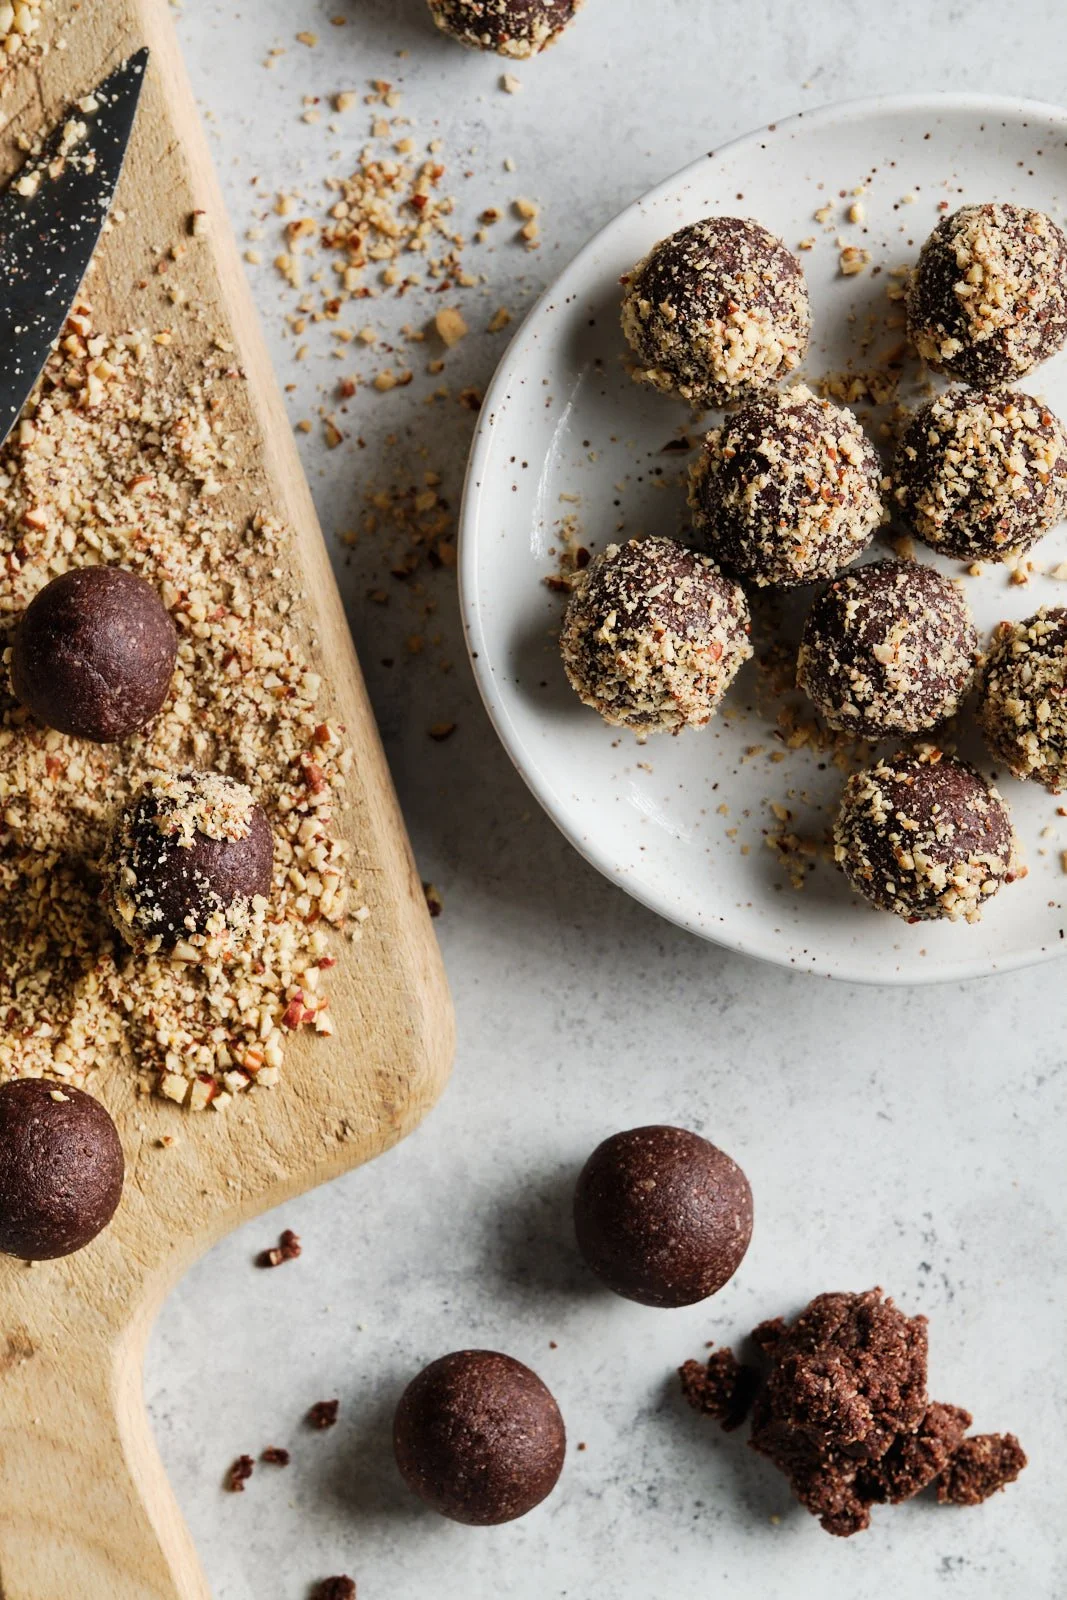
  • In a medium bowl, measure the almond meal, then add the cocoa powder and salt, and mix well until homogenous. Add the maple syrup and vanilla paste or extract, then mix with a spoon or your hand until the mixture comes together. Be patient and don’t add any other liquids, the mixture will come together into clumps, like in the image above. When you squeeze it, it should easily stick together into a ball.

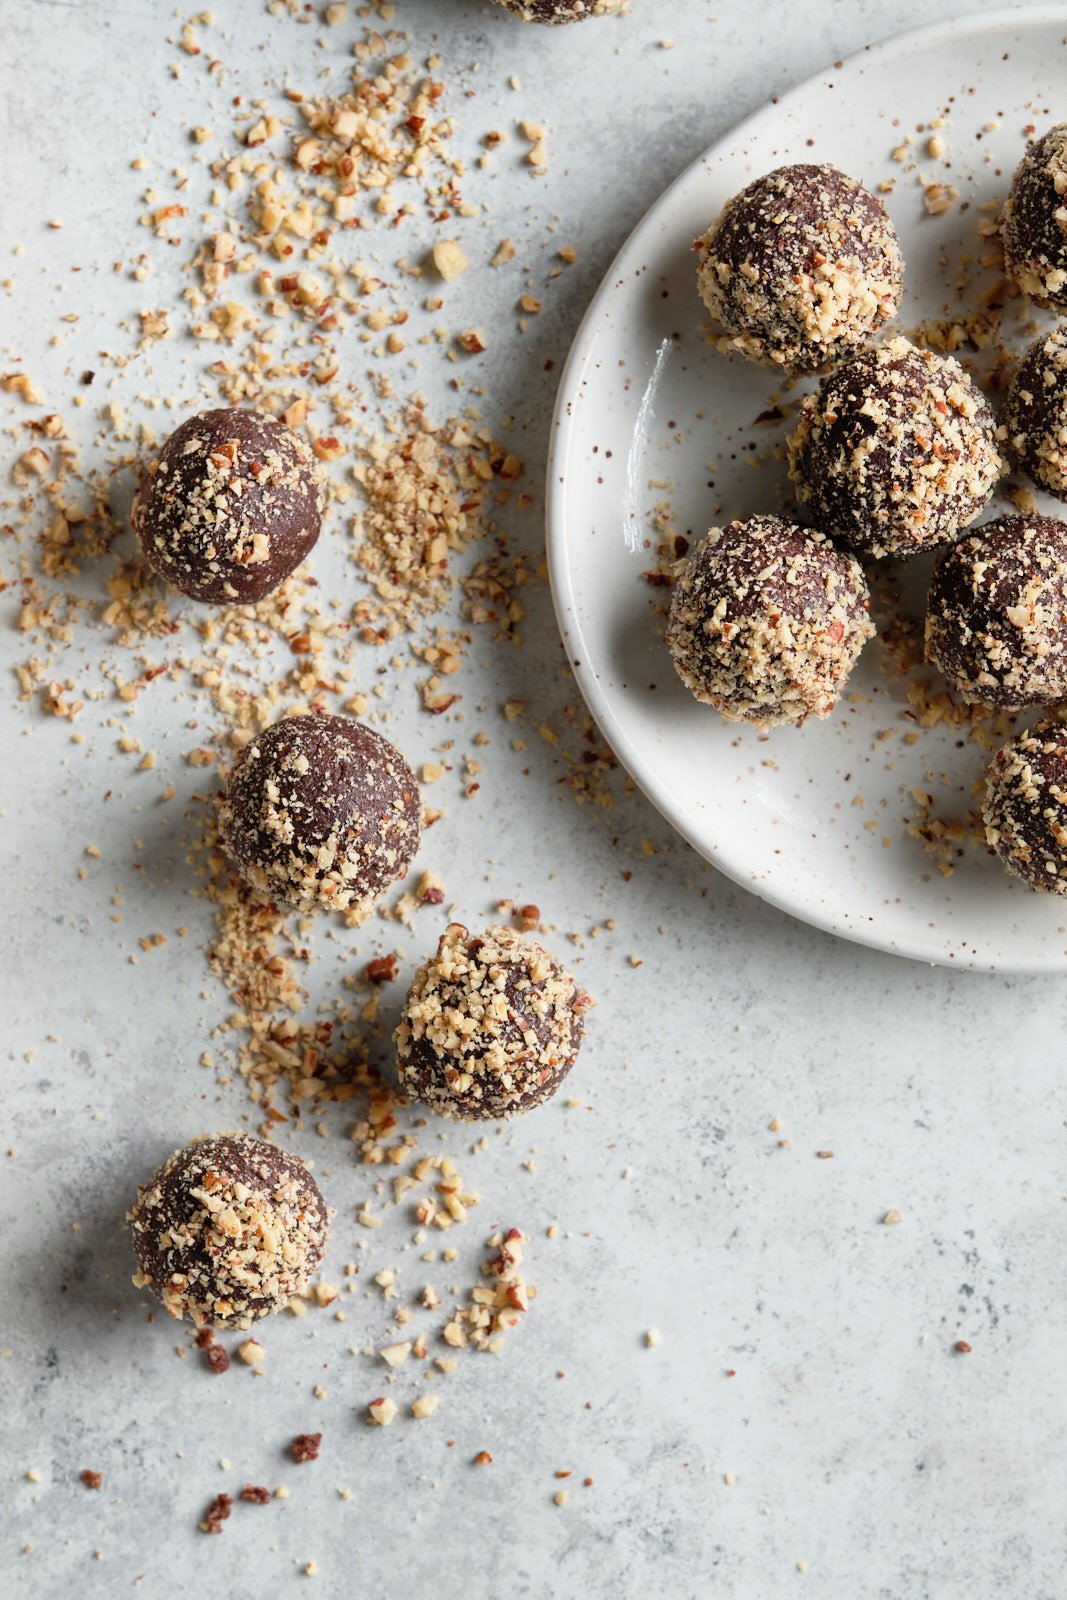
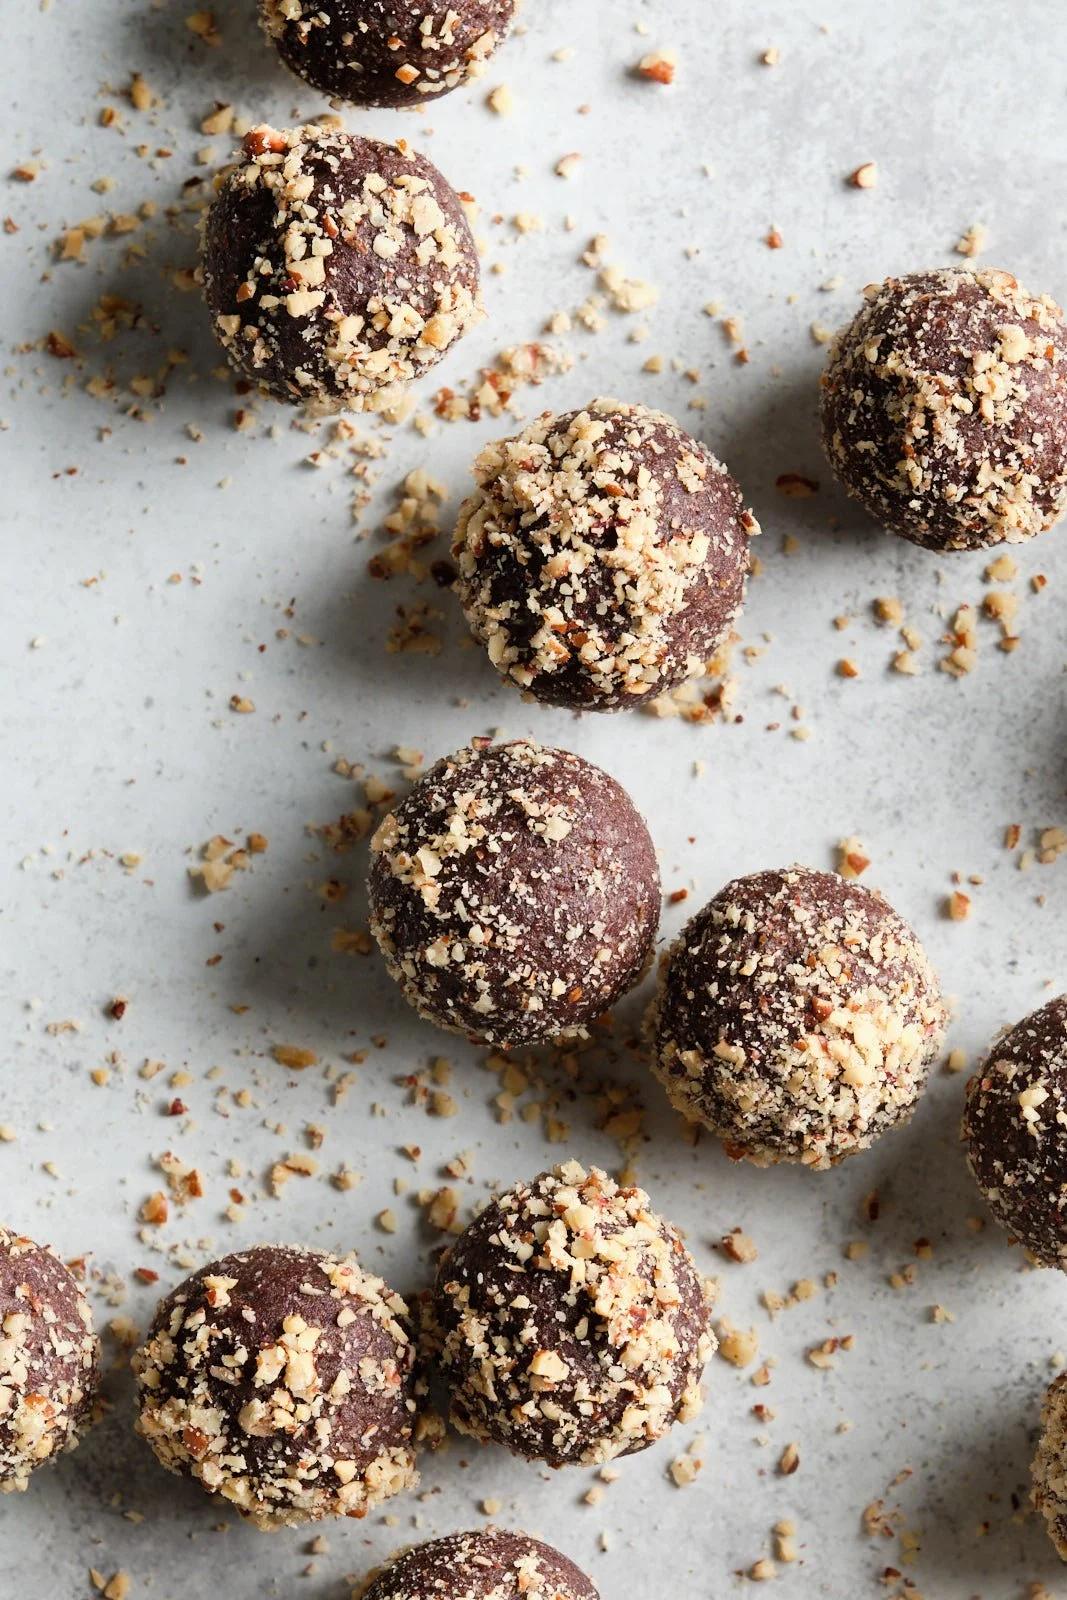
  • With a small spoon or your hands, form walnut-sized balls from the mixture. Roll them in the pecans, if desired, or in more of the almond meal – rolling them in the nuts prevents the outside from drying out. Store in the refrigerator, in an airtight box or jar, for up to 2 weeks.

Plant based Earl Grey lemon latte

A luxurious, frothy plant based latte made with Earl Grey tea blended with raw cashews, whole lemon, and spices. The perfect cuppa for morning or afternoon.

When I was working in Downtown Toronto, my morning treat used to be an almond milk London Fog latte, which is essentially Earl Grey tea with frothed milk. I’m perpetually cold, so I’d sip on it slowly while I walked to work, the tea warming me up both from within, as well my cold hands.

These days, I make this latte at home, where I have the luxury of using my own home made almond milk, which makes it even more of a treat. The flavour is incomparable. Sometimes I’m out of milk, but still crave this latte, which is why I created this version using cashews to bring creaminess. So I blend the brewed tea with cashews to create a silky smooth, luxurious drink with a light foamy cap.

The other day we got 15cm of snow within the span of seven hours, and especially on days like that, we use hot liquids as a warming device. Tea in the morning, then soup for lunch, but by afternoon, we were still prowling the kitchen for something hot and comforting. I sometimes make hot cocoa, turmeric golden latte, or matcha lattes in the afternoon if I feel like gambling with my bedtime hours, but lately I’ve been making this plant based Earl Grey lemon latte instead.

About Earl Grey

Earl Grey is a black tea blend flavoured with bergamot, a type of citrus fruit similar in appearance to a lemon. Bergamot has a citrusy, yet floral flavour that works great in so many ways. I love to use Earl Grey tea to make ice-cream, or tea-infused chocolate truffles. The loose tea leaves are also great ground to a powder and added to cake batter, for a bergamot and tea-scented dessert. 

I am, admittedly, a tea snob, and recommend buying the highest quality blend that you can find. Cheaper alternatives create a weaker brew, with only mild bergamot flavour. My favourite brand is Kusmi, their Earl Grey and Price Vladimir blends will both work in this recipe. I also love Taylors of Harrogate, their blends are fantastic too.

About the recipe

I know that blending a chunk of lemon, zest, pith and all, into your latte is a leap of faith, but trust that it works perfectly. If you’re a lover of lemon, you will appreciate the fragrant and citrusy kick of this hot drink. And also, using the whole citrus fruit (rather than either the zest or juice) in a recipe is not altogether unusual. I hope to share a salad dressing made with whole lemon, and a cake made with a whole cooked orange as well in a few weeks, both great.

Variations

  • if you don’t have Earl Grey, use a plain black tea blend to brew the tea

  • substitute 1 tbsp cashew butter or coconut butter for the raw cashews, if unavailable

  • if you cannot use nuts but are okay with coconut, substitute the cashews with 2 tbsp full fat coconut milk from a can

  • no maple syrup? Use agave syrup or organic golden sugar, but start with 2 tsp and add to taste. Both of these taste sweeter than the maple.

Plant based Earl Grey lemon latte

Yields: 1 serving

Ingredients:

  • 1 cup (250 ml) filtered water

  • 1 tsp (3 g) loose leaf or 1 tea bag Earl Grey black tea blend

  • 2 tbsp (25 g) raw cashews (make the tablespoons slightly rounded)

  • ¼ to ⅓ of a whole lemon (about 50 g) including skin, cut into slices and all pips removed

  • ⅛ tsp cinnamon

  • ¼ tsp vanilla paste or seeds scraped from a 1-inch piece vanilla bean

  • 1 to 1 ½ tbsp maple syrup or to taste

Method:

  • Bring the water to the boil, and add the loose leaf tea or tea bag. Let steep for 5 minutes. When done steeping, remove the tea bag or strain the tea into the small jar of a blender.

  • To the tea in the blender, add the cashews, lemon slices, cinnamon, vanilla, and maple syrup. Start with less maple syrup, and add the rest later, if necessary – how much you add will depend on how sour and how large your lemon is. Blend the mixture on high speed for about 60 seconds, or until smooth and frothy.

  • Strain your blended latte into a mug using a fine mesh strainer, and pressing on chunky bits to remove as much liquid as possible. Adjust the sweetness, if necessary, by adding more maple syrup to taste.

Notes:

If you don’t have Earl Grey, use a plain black tea to brew the tea. The raw cashews can be substituted with 1 tbsp cashew butter or coconut butter. No maple syrup? Use organic golden sugar, start with 2 tsp and add to taste.

Thai inspired red curry soup

A simple soup with bold flavours, made with pantry staples like Thai red curry paste, coconut milk, rice noodles, and veggies. Vegan and gluten free.

Bowl of Thai inspired red curry soup garnished with sugar snap peas and bok choi

There is a knee-deep blanket of snow outside as I am writing this, so we are very much in soup season still. But snow or not, the truth is I cook and eat soup every season. Soups are an easy way to pack in lots of vegetables, they are comforting and cozy, and a lighter yet satisfying meal. When the fridge is nearly empty, I can still dig up some veg bits to turn into soup. Briefly put, it is my dinner/lunch safety net. 

I claim no authenticity when it comes to this soup – only that it’s deeply aromatic, simple to make, and accessible in 30 minutes flat on a weeknight. That’s a pretty valid claim to fame in my book.

Cilantro, bok choi, sugar snap peas and mushrooms

About Thai red curry paste

The flavour base of this soup is Thai red curry paste. It is a condiment that typically contains: chilis, garlic, lemongrass, galangal, shallot, cilantro root, salt, and kaffir lime zest. Sometimes the paste contains shellfish, so read the ingredient list carefully if you have a shellfish allergy or just want to keep things plant based. I buy this one which does not contain any fish or shellfish ingredients. 

The paste is easily available in most large grocery stores these days. You can also find it at specialty stores that carry Asian ingredients, though the spiciness level will be different. Typically, Asian-made brands of Thai curry paste are, in my experience, spicier, so substitute to your desired spice level.

I used to turn my nose up at ready-made sauces, because the foodie in me wants to make everything from scratch. Granted, blending up a red curry sauce isn’t particularly difficult, but also, it’s not a project I’d sign up for on a weeknight. The grocery store option offers a flavourful base that’s incredibly convenient to use, and I am further doctoring it up with flavour heavy-hitters like garlic, ginger, and tamari/soy sauce, to give the soup more depth.

About the recipe

We start by creating a flavourful broth that carries Asian inspired flavours. Garlic and ginger are sauteed in coconut oil, then we add the Thai red curry paste. It’s important to cook the aromatics and the curry paste for about 1 minute, to help the flavours develop in the heat. Then we add rich coconut milk, and water to lighten the broth. 

The body of the soup is rice vermicelli noodles for the “slurp factor,” and steamed and fresh vegetables. The veggies I’ve listed are just suggestions. Experiment to find the ones you love best, whether that’s squash, sweet potatoes, spinach, or broccolini (or tenderstem broccoli for my UK friends). Finally, the soup is garnished with any combination of: thinly sliced green onions, cilantro leaves, black sesame seeds.

How to adapt this recipe for your taste

Here are some ways you can customize this soup, if you prefer:

  • if it’s too spicy for you or your children, add more full-fat coconut milk and add a bit more salt, if necessary

  • do you want more spice? Then increase the curry paste to 3 tablespoons, and/or add 1-2 chopped red chilis in step one, when sauteeing the garlic and ginger in coconut oil

  • if you want to add protein, for a complete meal, add cubed tofu. But remember that the soup will be better on day 2, after the tofu has had time to soak up the flavours of the broth. You can use silken tofu, but this will crumble up as you stir the soup.

  • if you don’t have rice noodles, use plain cooked rice. You’ll lose the “slurp factor” but will save a trip to the store

  • you can use any of these toppings to serve with the soup: steamed broccoli florets, steamed broccolini, chopped fresh snap pea pods, fresh button mushrooms, fresh enoki or shimeji mushrooms, fresh bean sprouts. Garnish with Thai basil instead of the cilantro for a twist.

Thai inspired red curry noodle soup

Yield: 2-4 servings

Ingredients:

  • 1 tbsp coconut oil

  • 1 tsp garlic paste (about 3 cloves, finely grated on the microplane)

  • 1 tbsp ginger paste (about a thumb-sized piece of ginger, peeled and grated on the microplane)

  • 2 tbsp Thai red curry paste

  • 1 398 ml (13.5 oz) can unsweetened, full fat coconut milk

  • 1 ¾ cup (400 ml) filtered water

  • 2 tsp soy sauce

  • ¼ tsp salt if needed

  • 2.3 ounces (65 g) thin rice vermicelli noodles, or another rice noodle of your preference

  • 4-5 baby bok choi or 2 cups broccoli florets steamed

Garnish:

  • Fresh cilantro leaves

  • Fresh snap pea pods chopped thinly on a bias, for crunch

  • Thinly chopped green onions

  • Lime juice

Method:

  • Heat the coconut oil in a medium size soup pot. Add the garlic and ginger and saute for 30 seconds, then add the red curry paste. Continue cooking for about 1 minute, stirring continuously (some of the aromatics will stick to the bottom) and not letting the aromatics burn.

  • Pour in the coconut milk, then fill the coconut milk can with water (this is the 1 ¾ cups water mentioned in the ingredients), and add that to the pot as well. Stir well to dislodge from the bottom any stuck bits. Bring to a boil, and add the soy sauce, then taste and add the additional salt only if needed. Simmer gently while you prepare the noodles and veg.

  • While the soup cooks, soak or cook the rice noodles according to the package instructions. Drain well. If using bok choi, wash and cut in two lengthwise, then steam until tender. If using broccoli florets, you can either add them straight into the soup, or steam them separately until deep green, and they still retain a bite.

  • When the noodles and veggies are ready, add them all to the broth. Simmer for a couple minutes more, then remove from the heat. Serve immediately in bowls, and garnish it with cilantro leaves, thin slices of green onions, fresh sugar snap peas, black sesame.

Plant based nut yogurt

A plant based yogurt alternative, made with cashews and almonds, with optional flavourings like lemon juice, vanilla or lemon zest. Soaking required.

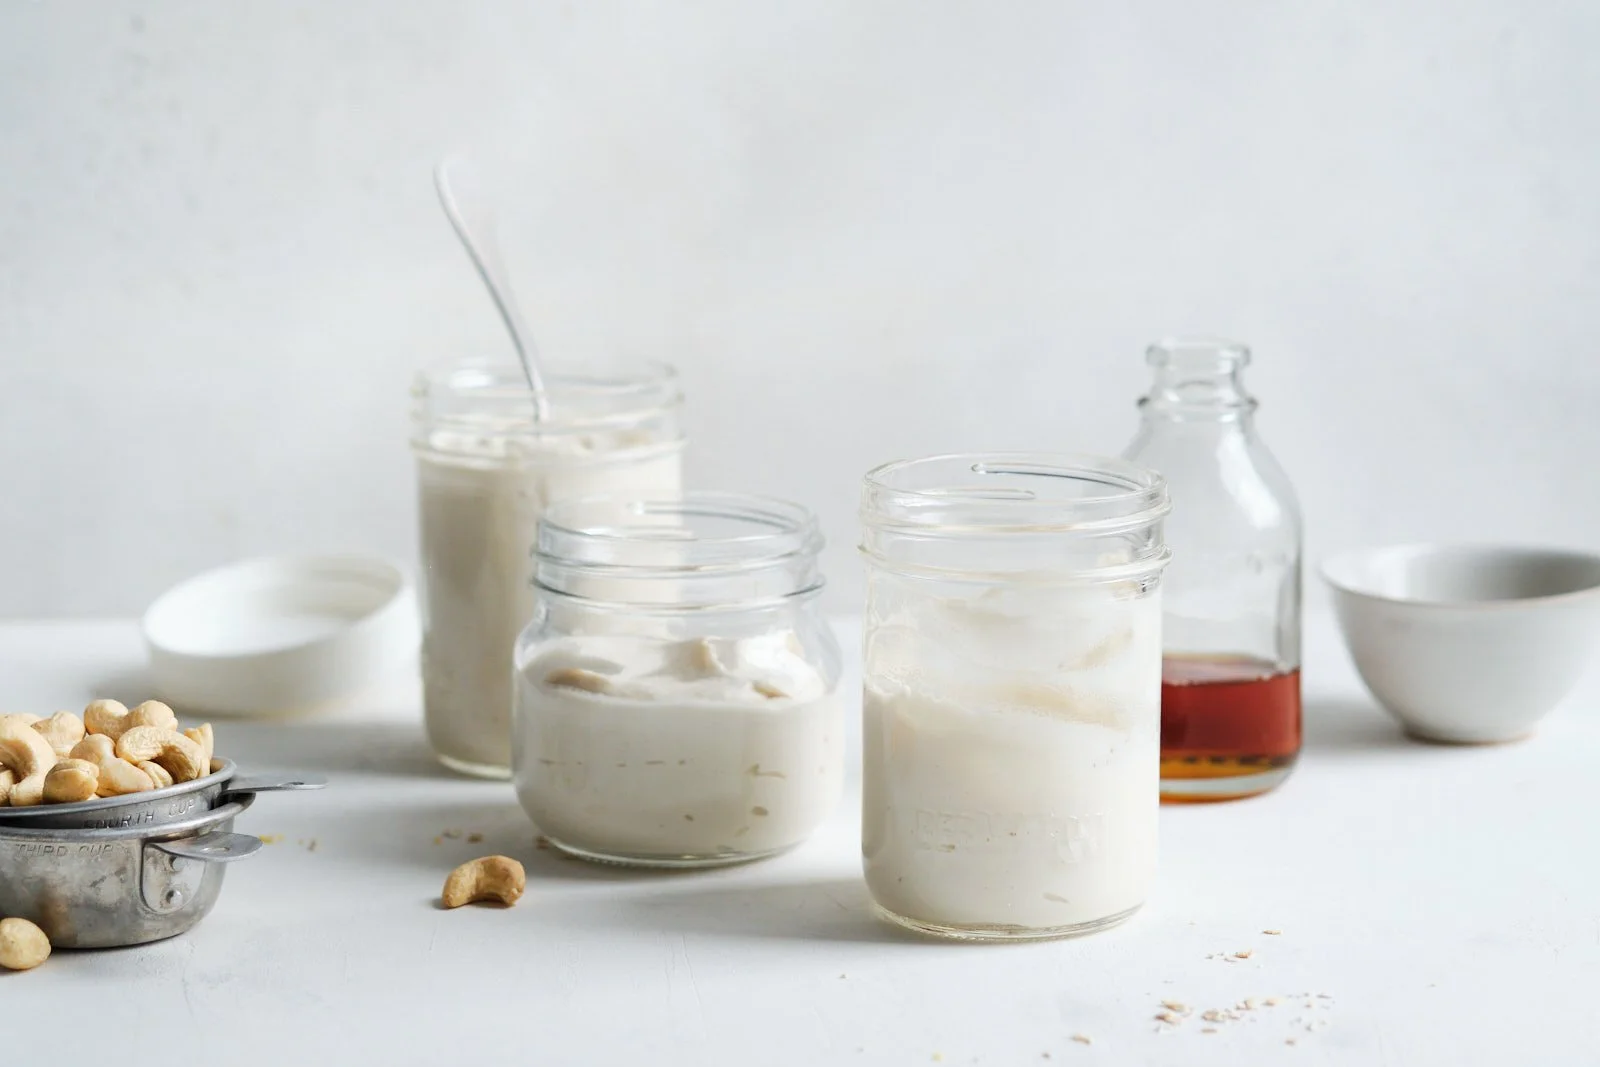
Jars of different sizes, with plant based nut yogurt in them

Yup, I really did say that: a plant based “yogurt” made from nuts. This isn’t a fermented product, just something you can easily make at home with two ingredients, in case you are cutting back on dairy, and/or looking to try some alternatives.

You could try a yogurt from the store, it’s true. I like this one, a thick and delicious fermented coconut yogurt, and one of the few without any funky ingredients or gums. But if you are a consummate DIY-er, or you enjoy making your basics from scratch (or you just do not love the flavour of coconut), then this recipe is for you.

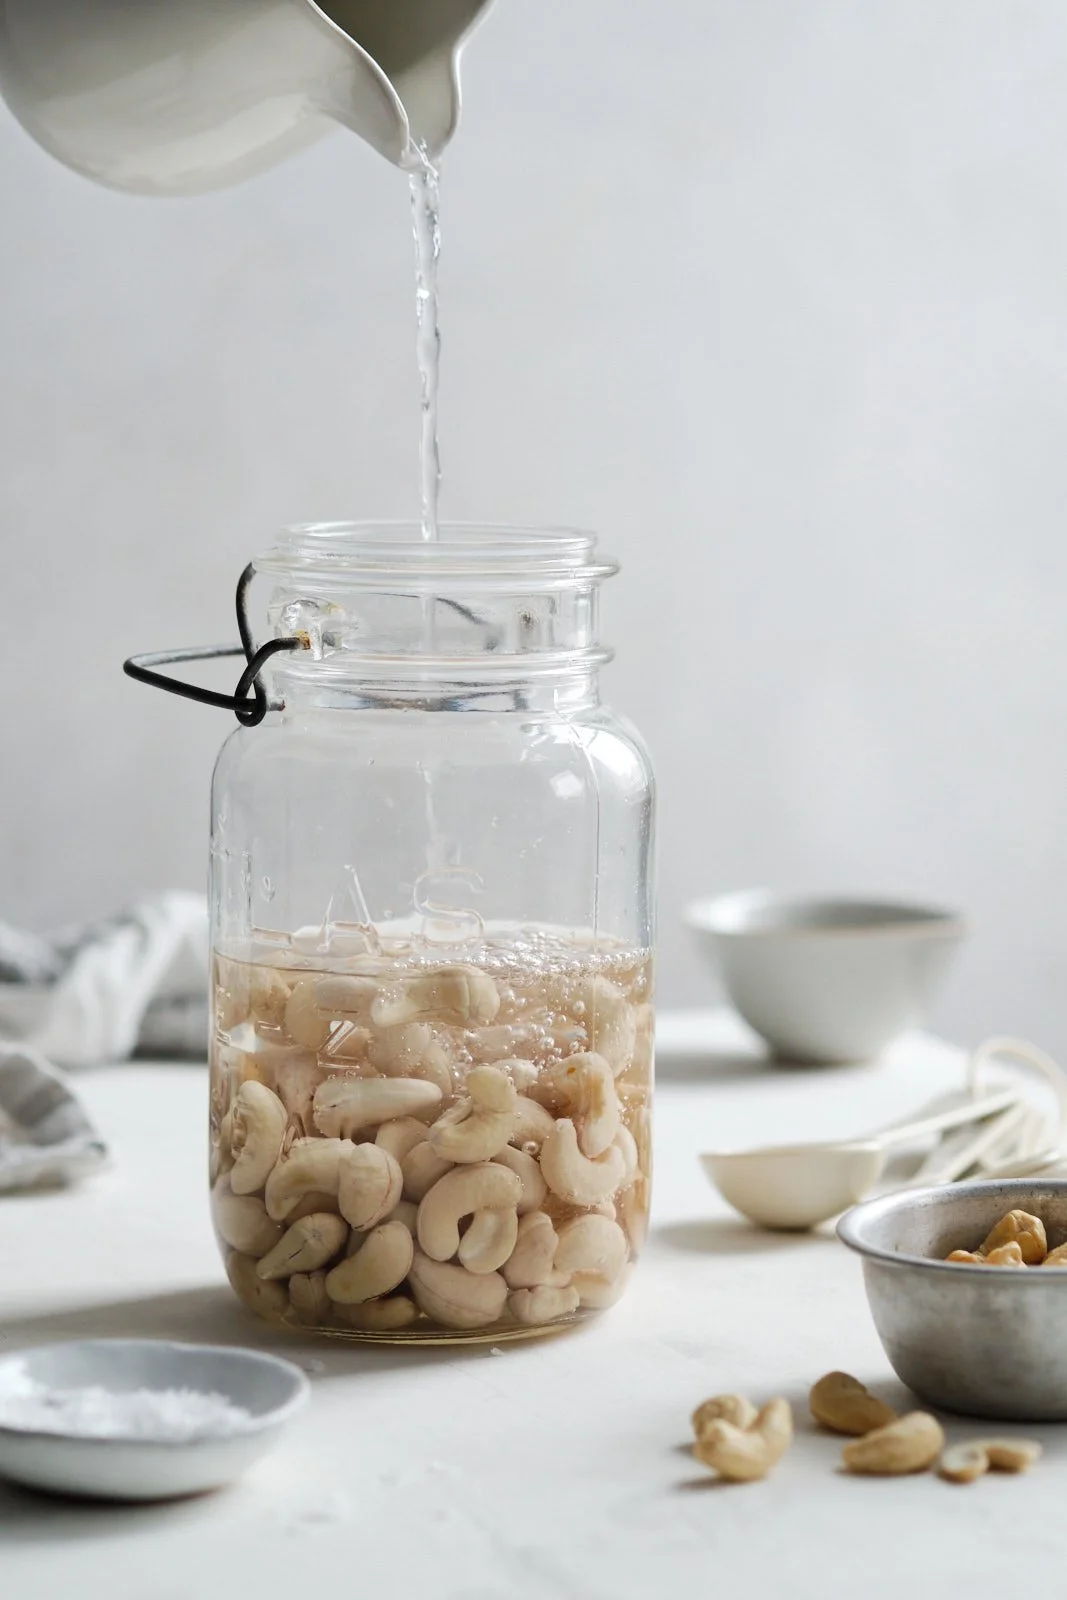
Soak the cashews for plant based nut yogurt

Kitchen notes

I’ll start with the obvious: this won’t taste like dairy yogurt. It can’t, because: 

  • it is made of nuts, and that is what it will taste like

  • it’s not fermented

However, it has the same function: a creamy food to eat as a breakfast or snack, with some interesting toppings if your choice. I offered some suggestions below as well.

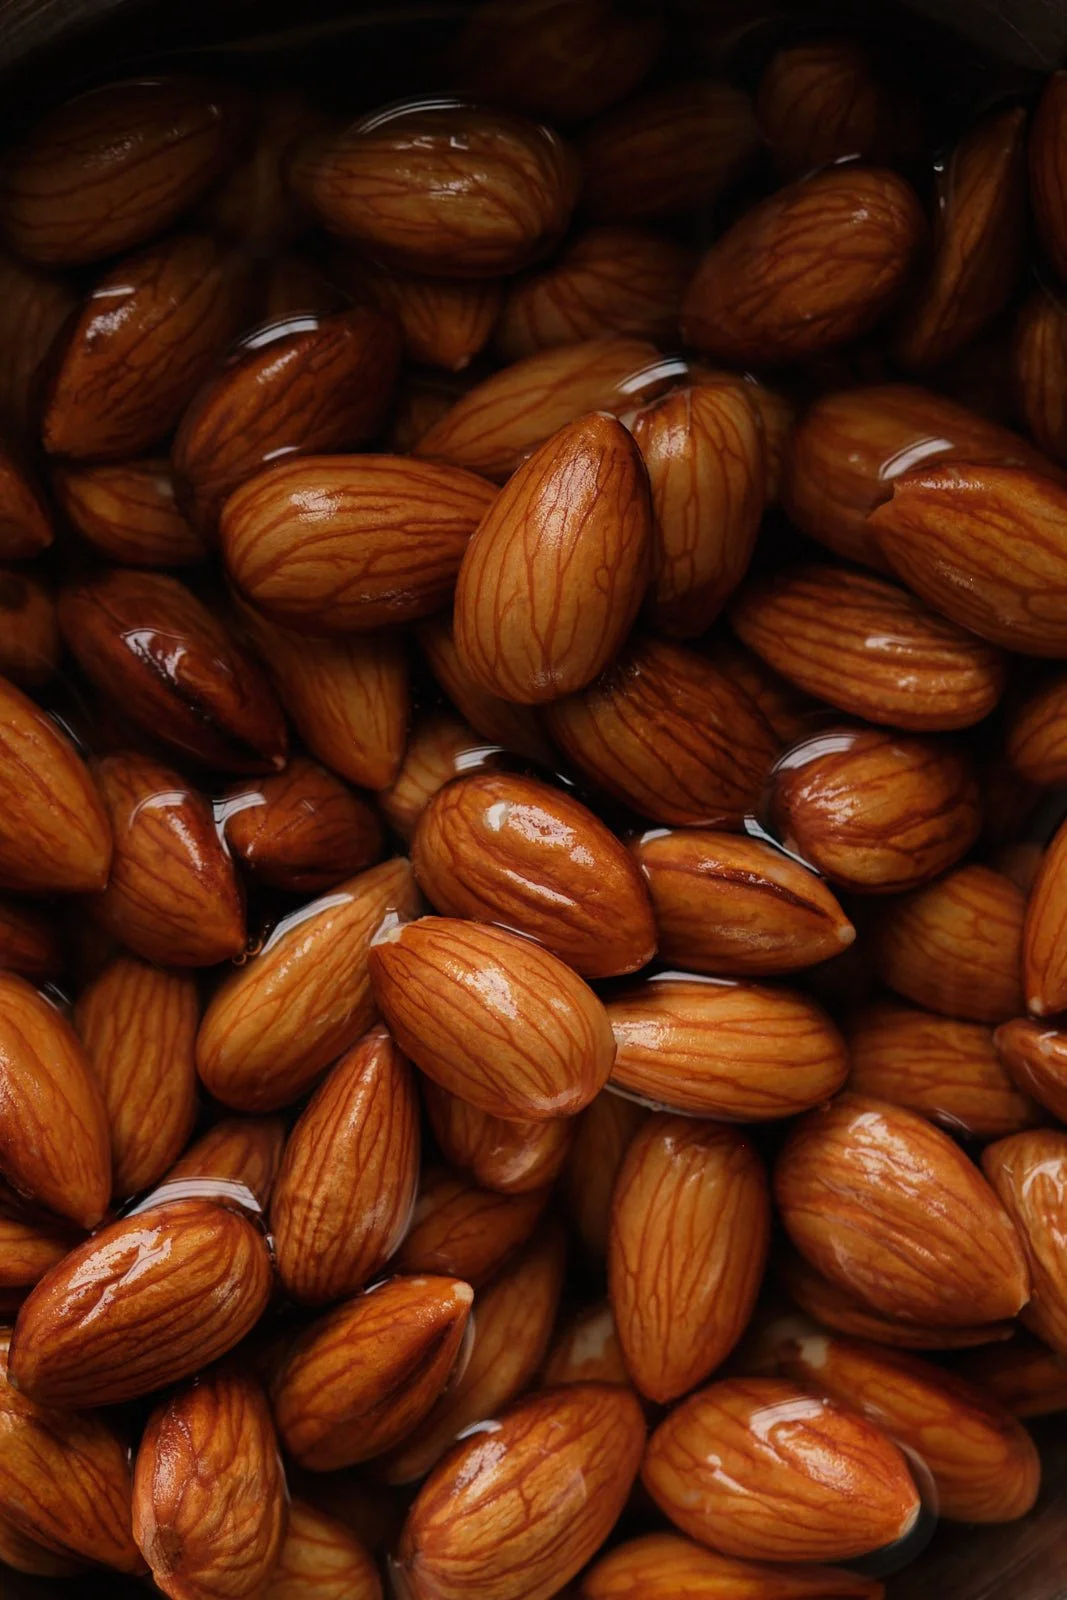
Soaking almonds

Almonds and cashews are fairly mild-tasting nuts, so there is the possibility of playing with flavour. I add citrus zest, vanilla, honey, or maple to mine. Lemon zest is perfect if you serve this plant based nut yogurt with honeyed berries. Lime zest works with papaya chunks (SO GOOD), vanilla with a pear compote and so on. 

You will need a high powered blender for this job. I have used the same blender for 12 years, it’s from this brand - an absolute workhorse in my kitchen. A regular blender has no hope of smashing through the nuts, even if they are soaked. You can use all cashews, in which case the yogurt will be perfectly silky, a joy to eat. I like to use half almonds and half cashews, which is less smooth, but it has a more nutty essence, which I personally love.

The recipe rundown: you soak the nuts the night before, or about 4-6 hours before, if using only cashews. You drain, rinse, then blend the nuts with some water. Season to your liking then store the plant based nut yogurt in the fridge for up to 3 days for enjoying with fruit and/or granola, as a snack or breakfast. It could not be simpler.

Plant based nut yogurt in jars, with a small bottle of maple syrup and raw cashews in a small bowl

Plant based nut yogurt

Yields: 2-4 servings

Ingredients:

  • ½ cup (75 g) cashews (the unsalted, unroasted kind)

  • ½ cup (80 g) natural, raw almonds (or sub with equal quantity cashews, if preferred)

  • ½ cup (125 ml) filtered water for blending

  • 1 tsp (5 ml) lemon juice freshly squeezed (optional)

  • ¼ tsp vanilla paste or vanilla essence (optional)

  • ½ tsp lemon zest zested with a microplane (optional, add to nuts and water before blending if a smooth consistency is desired)

Equipment:

  • high powered blender

Method:

  • If using all cashews, place the cashews in a bowl and cover with cold water. Leave them at room temperature for 4-6 hours, or up to overnight. If using both cashews and almonds, soak the nuts separately, leaving the water-covered almonds on the counter for at least 8 hours, or overnight, as almonds need a longer soaking time.

  • Drain the nuts and rinse under cold water. Slip the skins off of the almonds. Place both nuts in a small blender jar (I use the Twister jar from Blendtec, which has a 16 fl oz. (2 cups, 500 ml) capacity. Add the ½ cup (125 ml) water and blend. Add any optional flavourings (lemon juice for tang, vanilla or citrus zest) and blend again until smooth and perfectly creamy.

  • Remove from the blender to a jar and store in the fridge until ready to enjoy.

Notes

This yogurt is great with fruit puree (mango with passion fruit is fantastic) or berry chia jam, fresh fruit (I like to macerate about 1 cup strawberries or blackberries with 1 tsp honey, then let rest for 20 min and serve with this yogurt), or a fruit compote, and if you desire some crunch, then granola or even some chocolate chips are a great option.

I don’t recommend freezing this nut yogurt. It can, however, be stored in the fridge for up to 3 days.